Pop-Up Maker
Pop-Up Maker
The pop-up maker is used to build ‘Pop-Ups’. These are text boxes that appear over-layed in front of the web page. You can see an example of this here.
When to use Pop-Ups
Pop-up maker was intended for creating ‘interstitial pop-ups’ for those sites which are required by contract or regulation to announce when sending a user to an external site.
There are also marketing opportunities for using pop-ups, such as increasing participation in surveys, special announcements and newsletter sign-ups.
We recommend using pop-ups for marketing extremely sparingly. By their nature, pop-ups interrupt the user’s experience. They are frequently identified by users as being annoying or a reason to leave the website.
How to create an Interstitial Popup
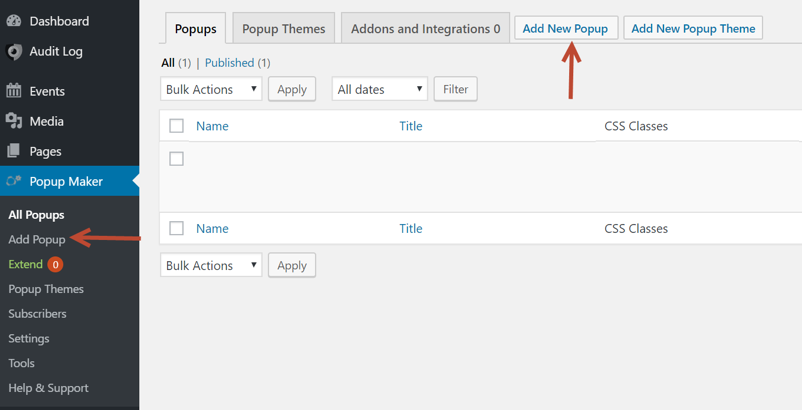
- Click Add Popup from left menu or Add New Popup tab from the Popup Maker dashboard (Exhibit 1)
Exhibit 1
Add details for Popup message (Exhibit 2)
- Add Popup Name – Name will display on the All Popups dashboard
- Add Popup Title – Title will appear as the header in the popup message
- Enter popup message in the text field
- Click down arrow next to Popup icon in toolbar, click Continue Link (Exhibit 3)
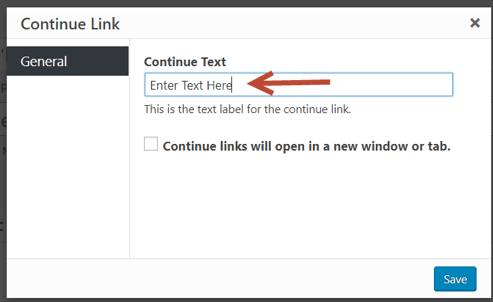
- Enter Continue Link text and click Save (Exhibit 4)
Exhibit 2
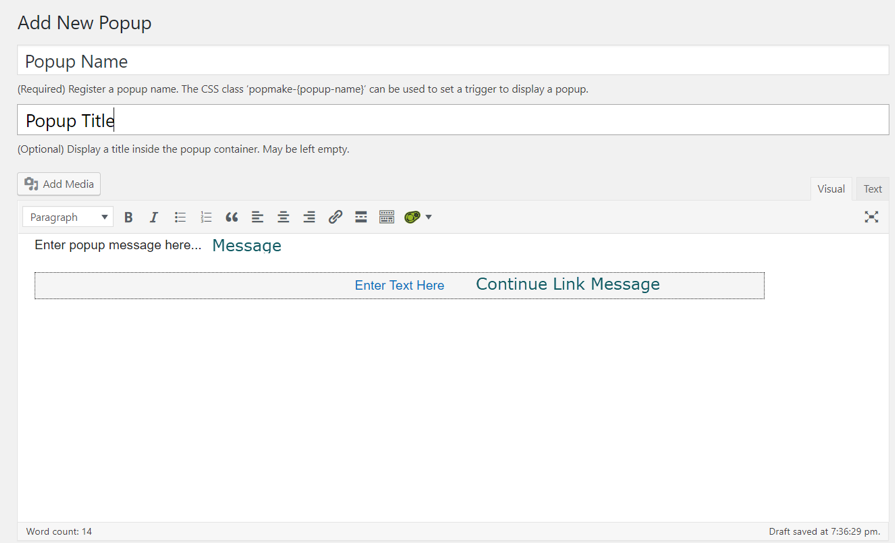
Exhibit 3
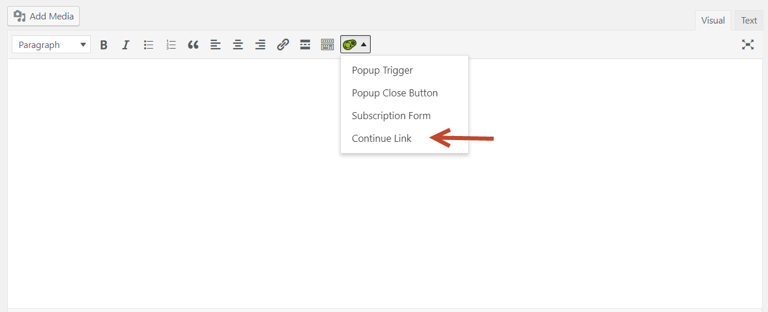
Exhibit 4
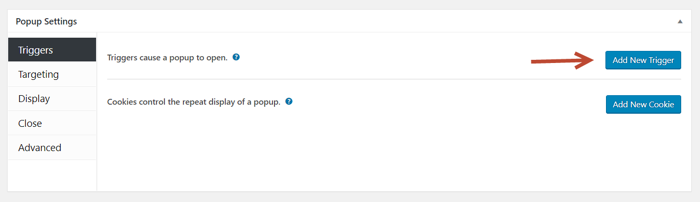
- In Popup Settings below text box, click Add New Trigger (Exhibit 5)
Exhibit 5
- Trigger type should be Click Open; if not, click down arrow and select Click Open and click Add (Exhibit 6)
Exhibit 6

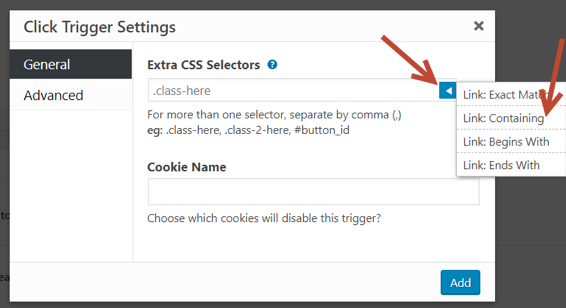
- Opens Click Trigger Settings module window; on General Tab, in Extra CSS Selectors field, click gray arrow button (turns blue when you click on button) and select Link: Containing or Link Begins With (Exhibit 7)
Exhibit 7
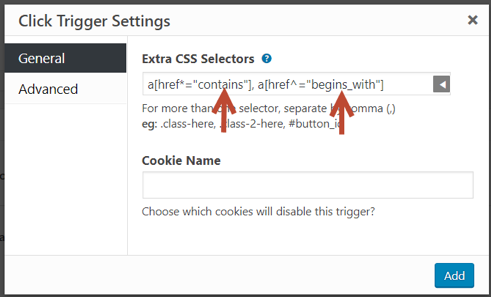
Enter as many CSS Selectors as needed; when using Link Containing, enter the URL identifier in the “contains” section of the href (example: adding popup message when user clicks on URL to go to MagellanRx: select Link Containing, in CSS string that appears, change a[href*=“contains”] to a[href*= “magellanrx”]); same process will apply if use “begins_with” and enter the beginning portion of the URL; click Add (Exhibit 8)
Exhibit 8
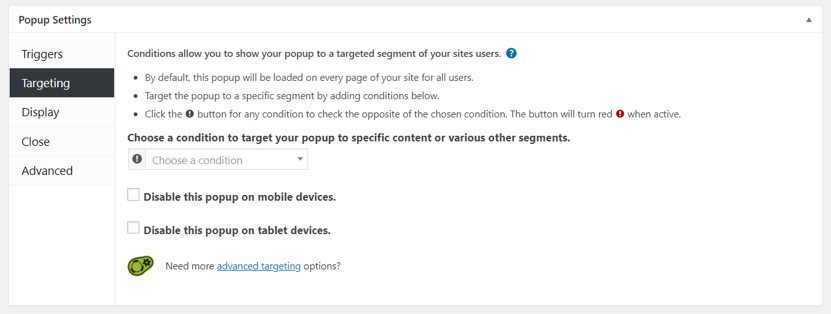
- No changes on Targeting Tab (Exhibit 9)
Exhibit 9
- On Display Tab select theme, size, animation, position, and advanced settings
- In the Appearance section, select the Theme from the drop-down list (Exhibit 10)
- In the Size section, select the Size of the popup message from the drop-down menu or customize own window size (Exhibit 11)
- In the Animation section, select the Animation to add to the popup message (Exhibit 12)
- In the Position section, select the location on the page from the drop-down menu where the message will display (Exhibit 13)
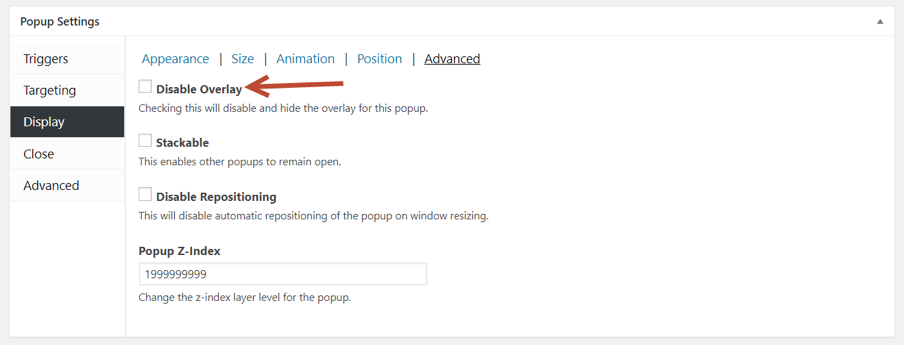
- In the Advanced section, click to Disable Overlay for the popup (Exhibit 14)
Exhibit 10
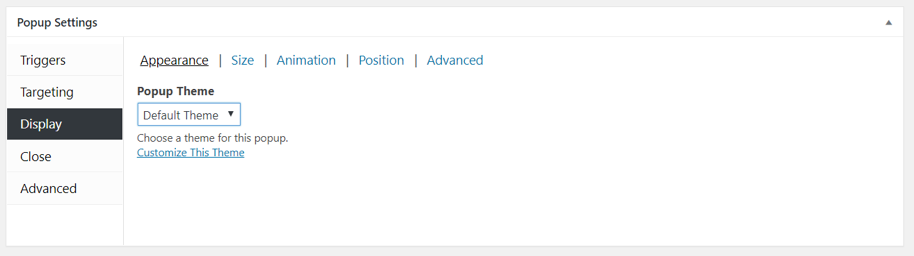
Exhibit 11
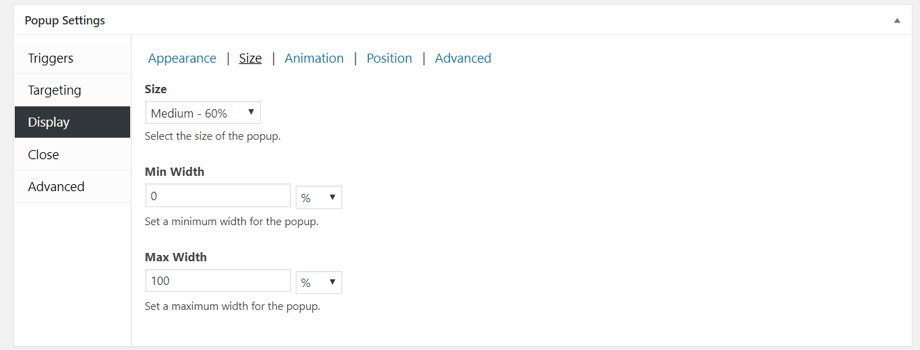
Exhibit 12
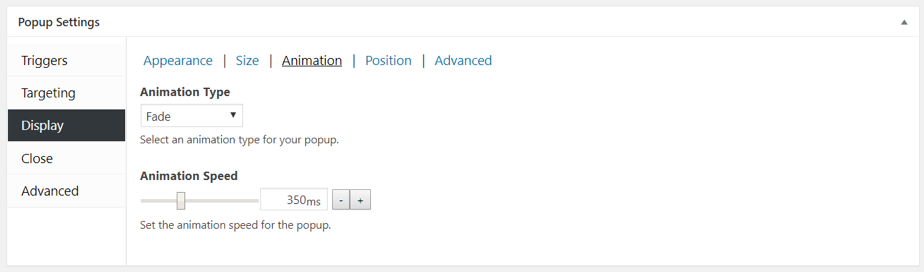
Exhibit 13
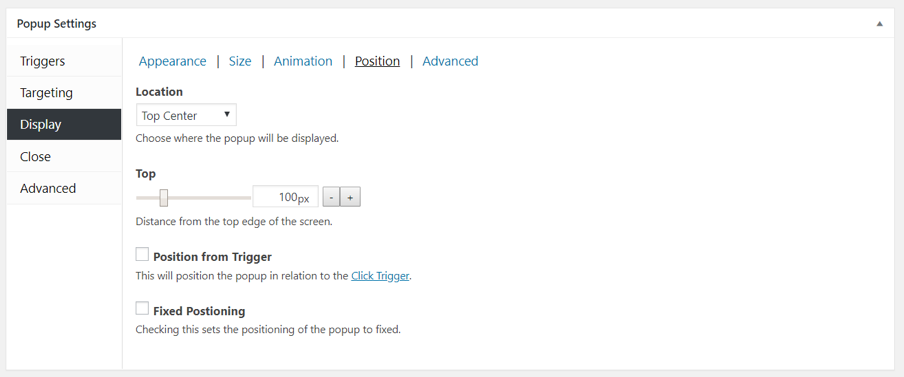
Exhibit 14
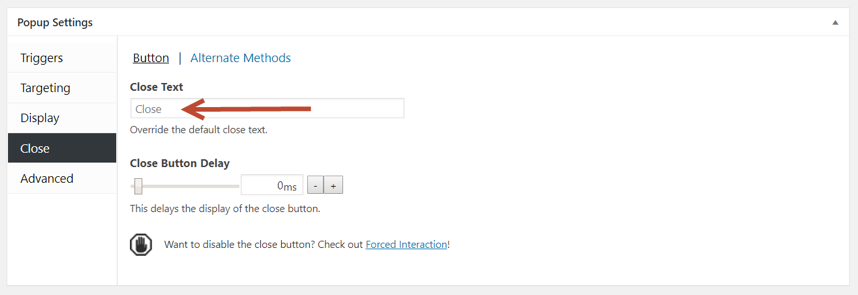
- On the Close tab, enter the text for the button that will close the popup message without taking the user to the new site (Exhibit 15)
Exhibit 15
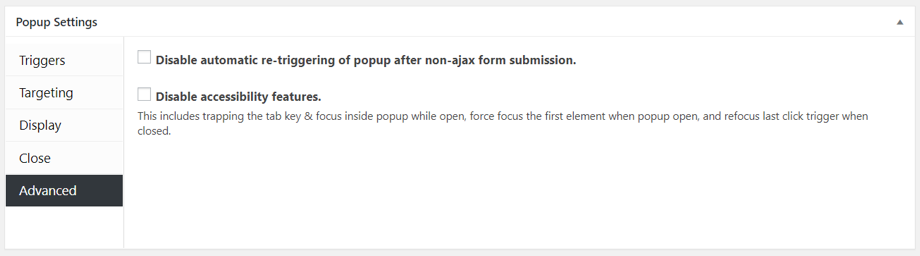
- No changes on Advanced tab (Exhibit 16)
Exhibit 16