Menus
Jump to Content:
Build a Menu Build a Conditional Menu Sidebar Menus and Parent/Child Pages
The sites have four Menu areas:
Header Primary
The main menu at the top of the page. Two levels of this menu are visible at the top of every page. Levels three to five appear in the sidebar of content pages (See below). This menu also has a mobile responsive version whereby the top level is accessed via a ‘burger menu’. This is how the majority of your users will access content.
Header Secondary
This smaller, single level menu appears above the main menu. This should be reserved for very important links such as portals. The Contact Us button appears next to the menu but is managed separately as a part of the Site Options toolset.
Footer Primary Menu
This menu appears below the Fat Footer at the very bottom of the page. By default it is for legal information including the disclaimer, anti-discrimination statement, privacy policy and more.
Footer Secondary
This menu gives you the option of splitting your Footer Menu into two lines. It is most commonly used to display different language options.
You can make different menus appear in any of these slots on an individual page by using the Conditional Menu tool.
Build a Menu
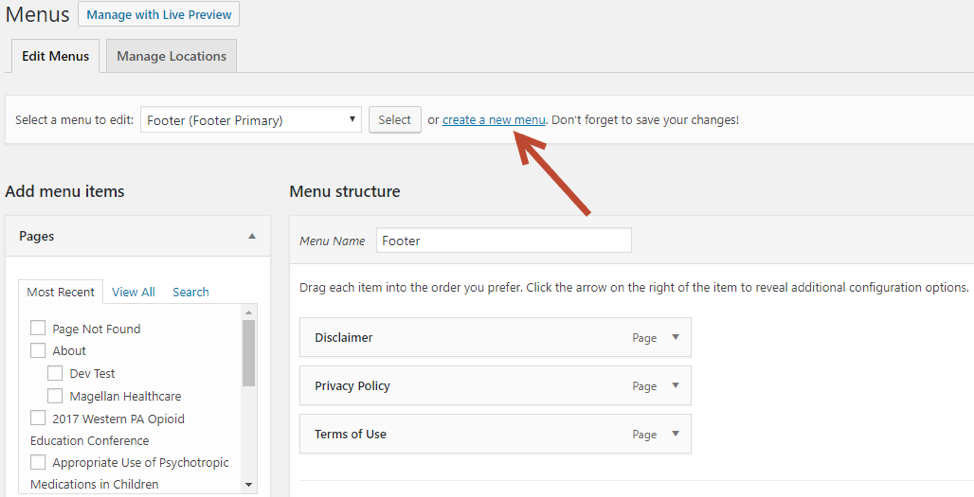
Begin by going to Appearance – Menus – create a new menu:
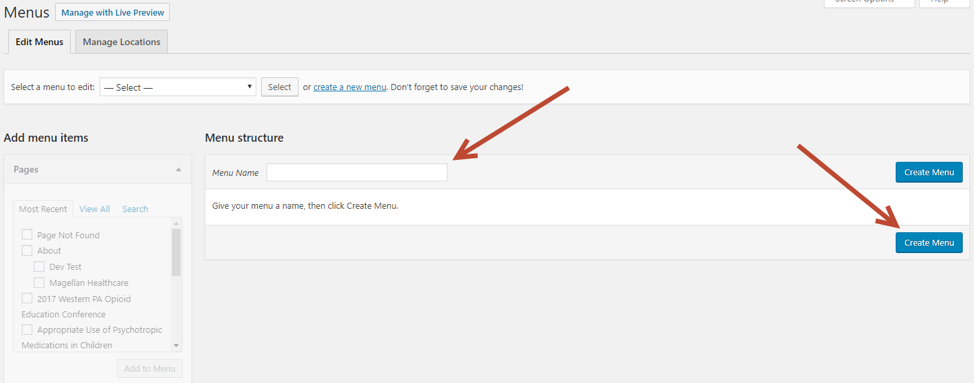
Begin by entering a name for the menu and click Create Menu:
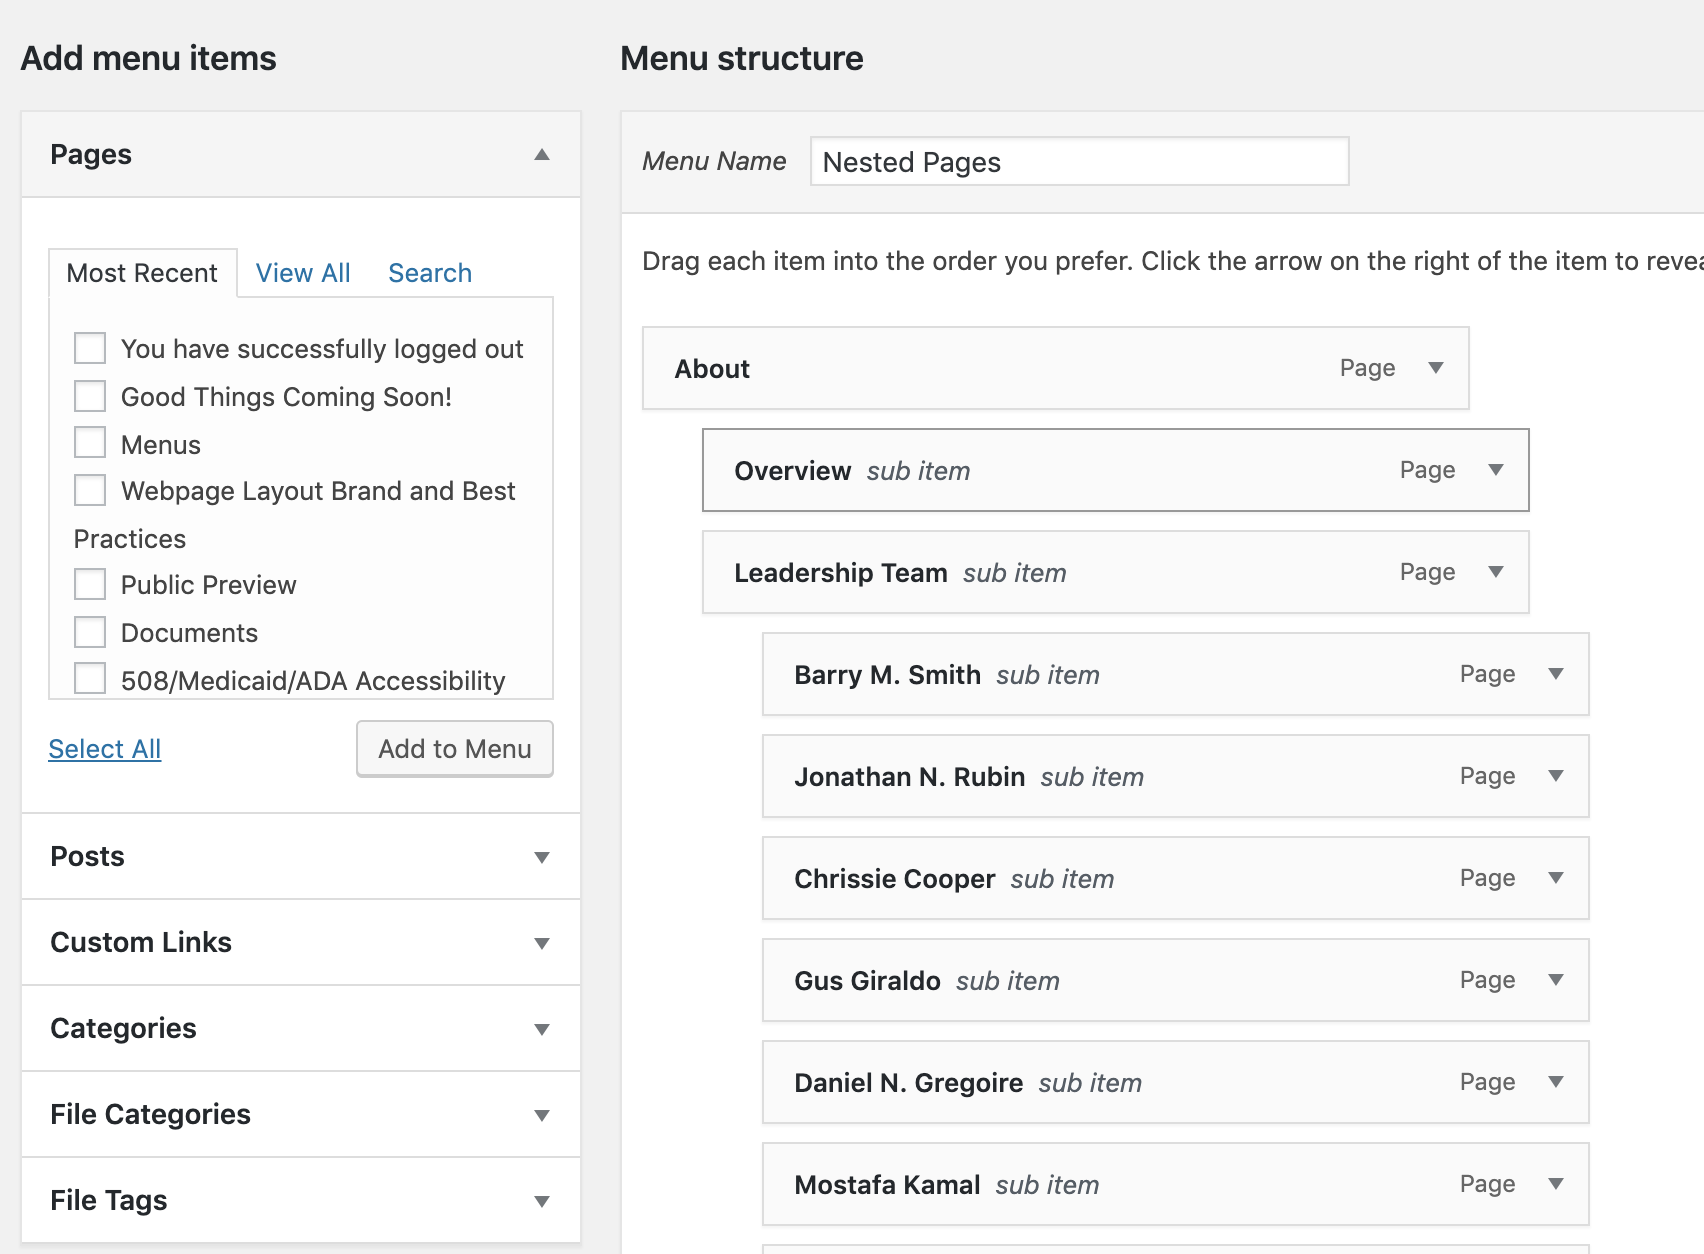
Check the pages you want to list in your menu and click Add to Menu:

Arrange the pages by dragging them around. To make an item part of a submenu drag to the right. The items to the leftmost area of the screen are your top line menu items (visible all the time). (Note: this does not change the Parent/child status of your pages – you can do that by editing the pages themselves)
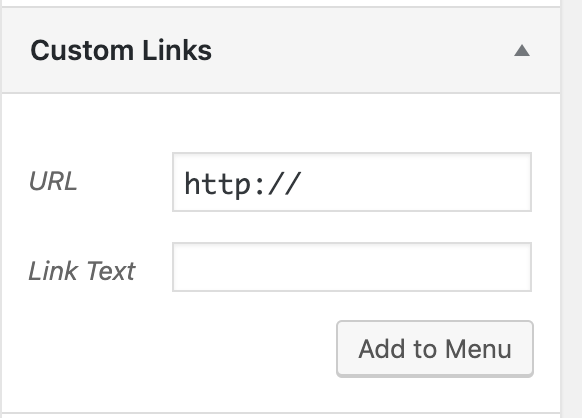
If you would like to link to an external site, click the Custom Links Tool and add the URL and the label you would like to use. Click Add to Menu. You can now drag and move the external links in the same way you do the pages.
Select a Menu Setting Display location; click Save Menu:
Conditional Menus
Conditional Menus allows you to present different menu items on different pages.
Create a New Menu
Begin by going to Appearance – Menus – create a new menu:
Begin by entering a name for the menu and click Create Menu:
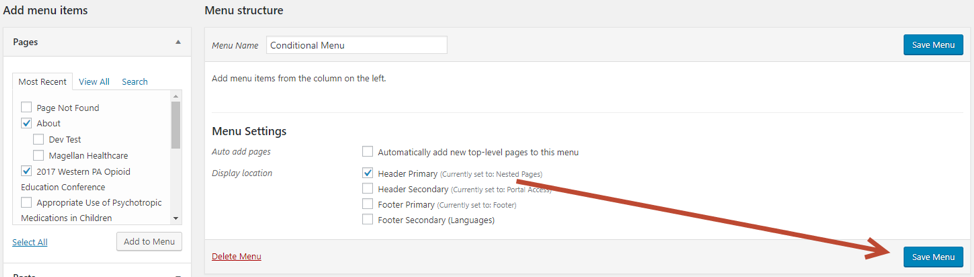
Check the pages you want to list in your menu and click Add to Menu:
Do not select a Menu Setting Display location – leave Header Primary as Nested Pages; click Save Menu:
Applying Conditions
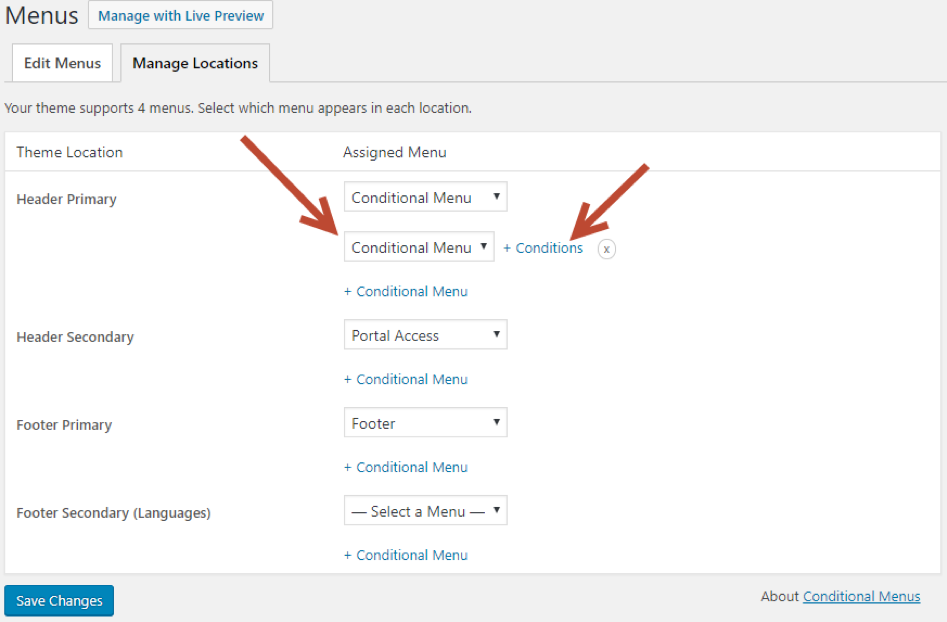
Navigate to the Manage Locations tab, select the correct menu you want to apply conditions to (Nested Pages in Header Primary) and click + Conditional Menu:
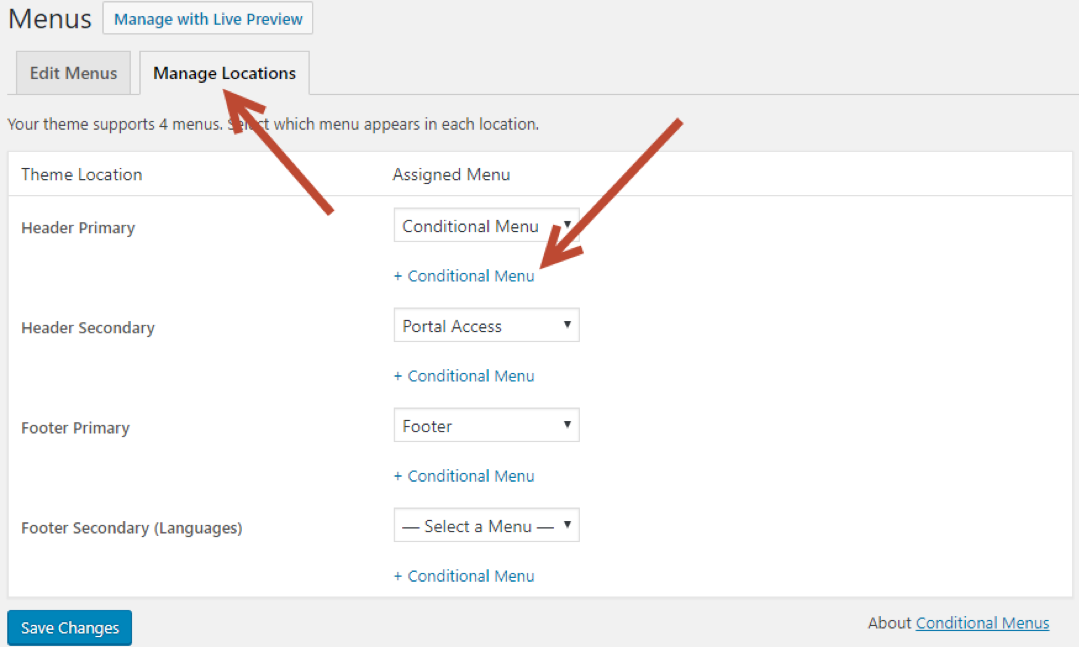
Select the appropriate alternate menu and click + Conditions:
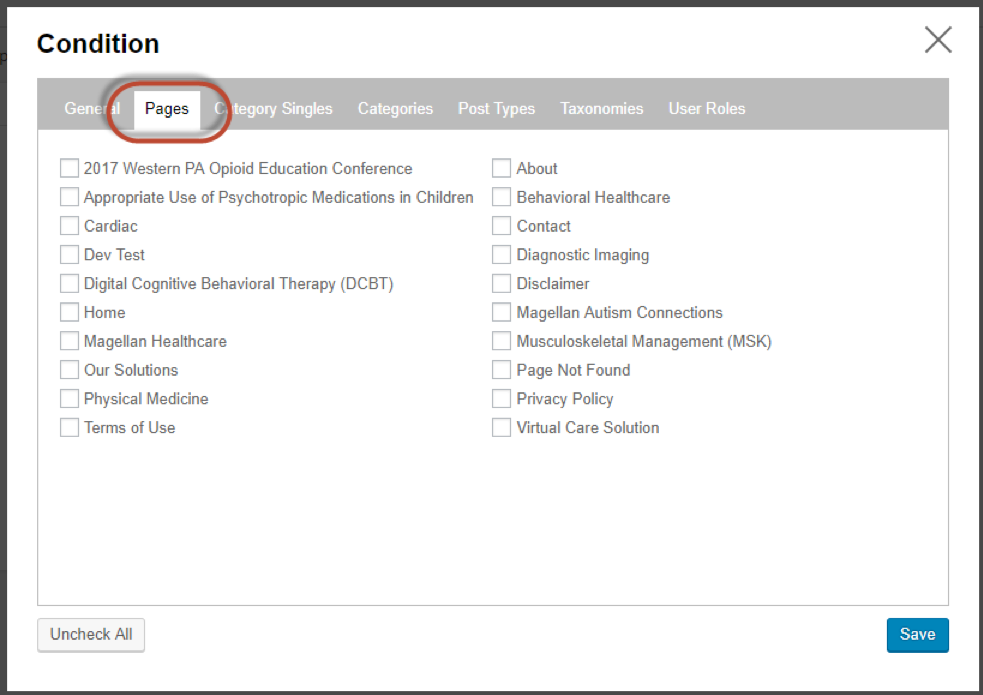
There are an infinite number of conditions that can be selected to control how and when your menu displays. For the purposes of this overview, we’re going apply our Conditional Menu to select pages. Check the pages you want this menu to display on and click Save:
To finish, click Save Changes:
Examples:
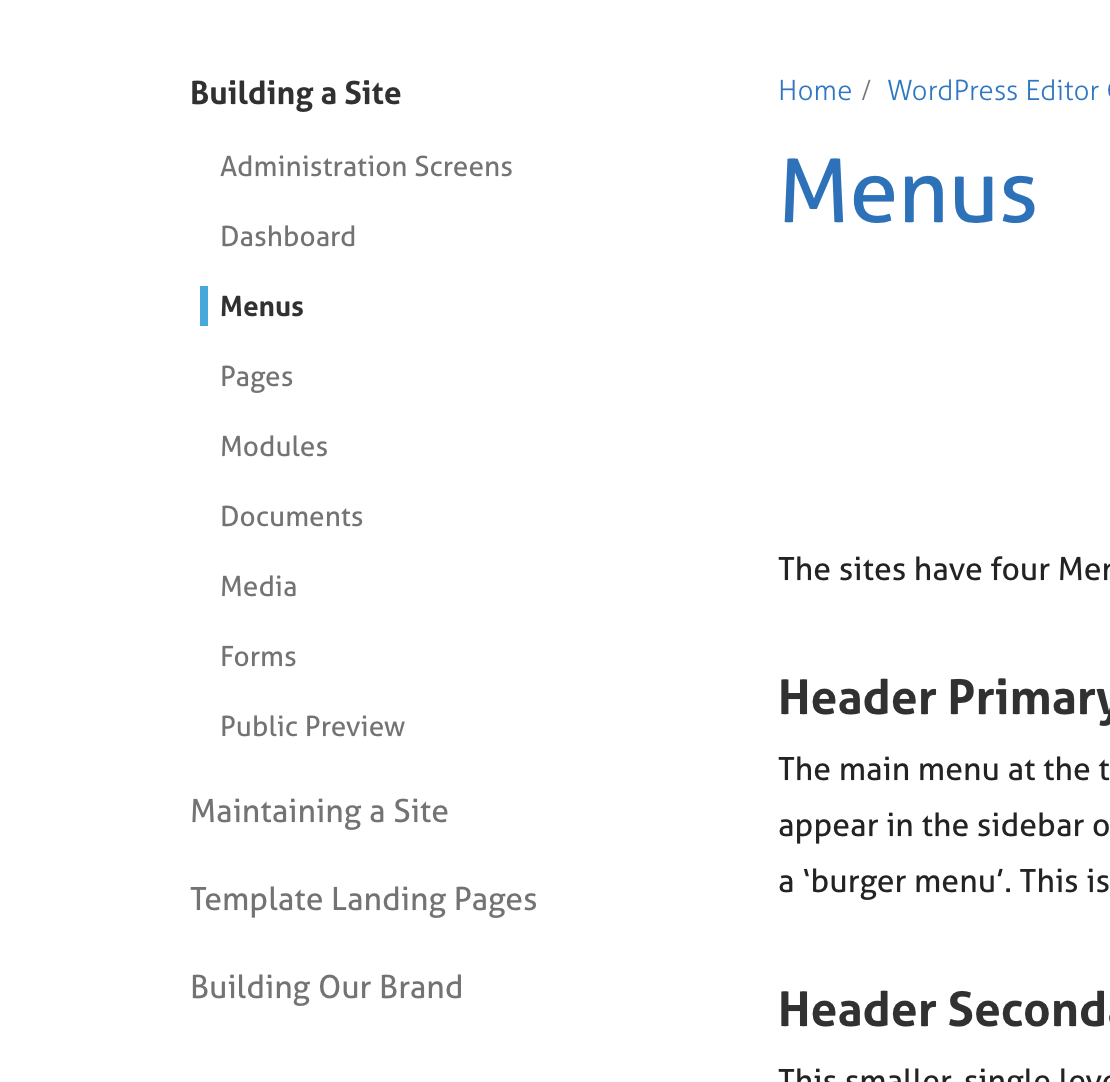
Parent page shows these menu items:
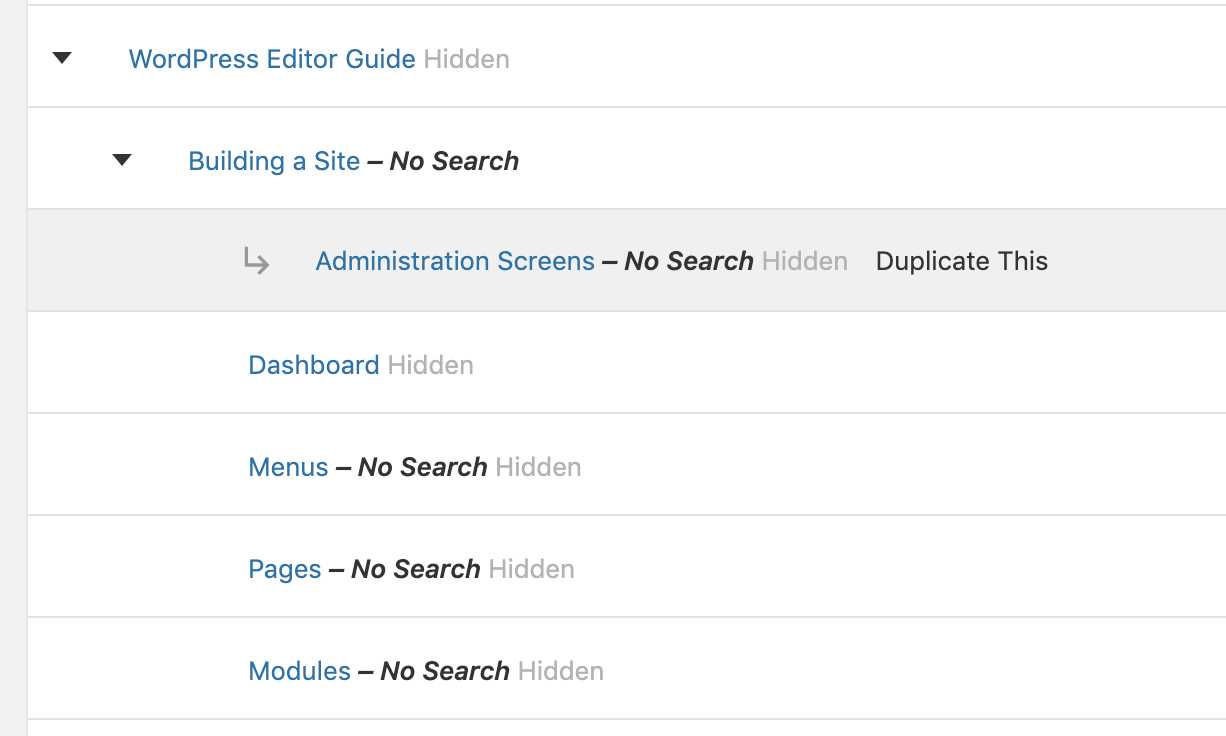
The child page then shows different menu items:

Sidebar Menus and Parent/Child Pages
Note before reading this, please make sure you have read the content above. It is also recommended that you understand the content on Pages as well.
The first two levels of your site’s menu system are controlled by the Nested Pages menu and the visual menu builder as described above. Lower level pages are controlled automatically by WordPress depending on the hierarchy of your pages.
Sidebar Menu
The sidebar menu appears on the left hand side of pages using the ‘Side Nav + Content’ Template. If you do not wish for the menu to appear, you can use the ‘Content’ template and retain the Content page features without the menu showing. If you hide the menu, you will have the option of having call out content on the right side of the screen. Note: there are no templates that include both the menu and the callouts.
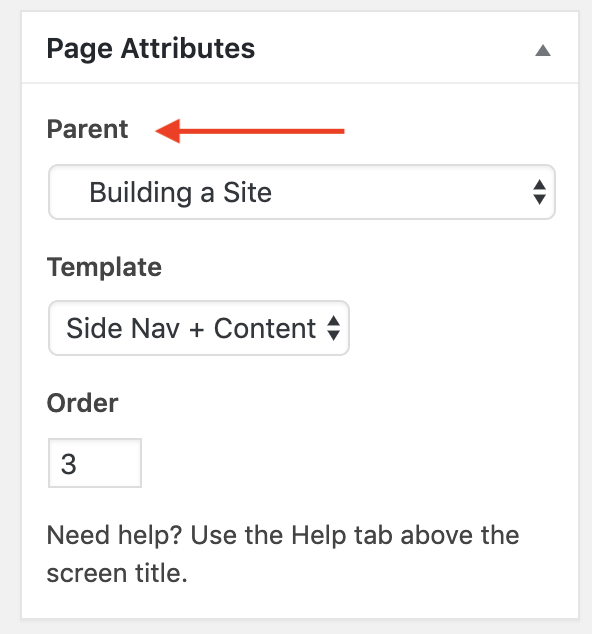
Parent/Child Pages
Each page can be set as a parent or child of another page. This lets you develop a hierarchy of pages throughout the site and to organize your pages into different sections. For example, a Home Page would be a Level I page, a landing page might be a Level II page and a content page might be a Level III page (and so on).
By organizing your pages this way you can create sections for your website. A Level II page could have a number of Level III child pages (which could have Level IV child pages themselves).
How to Build a Sidebar Menu
The Sidebar Menu that appears on the left of Content pages will be the appropriate sidebar for the section of the site to which the page belongs. If you wish to move a page from one section to another, simply change the parent of that page to the parent page of the section you prefer.
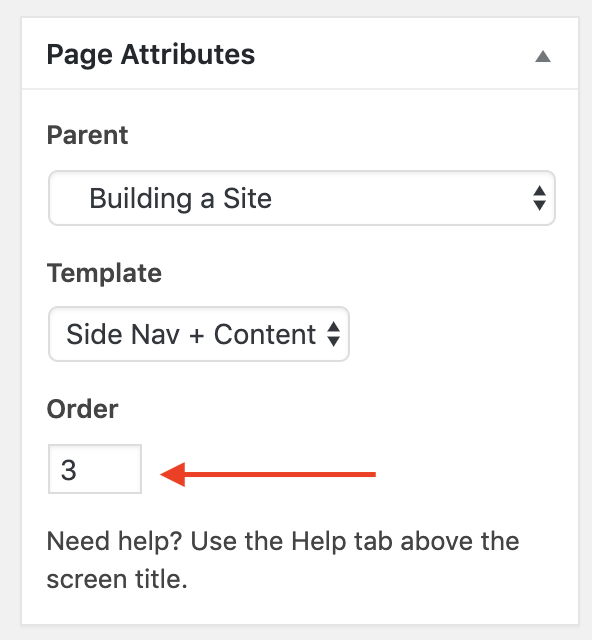
You can reorder the pages in each level by changing the ‘Order’ number below the parent page option in the editor window. ‘1’ is the top page, ‘2’ is the next one down and so on.
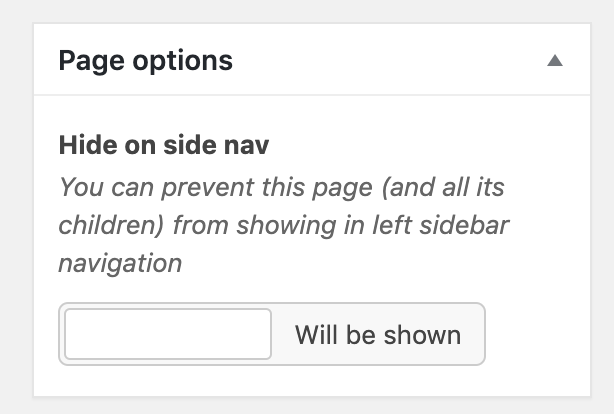
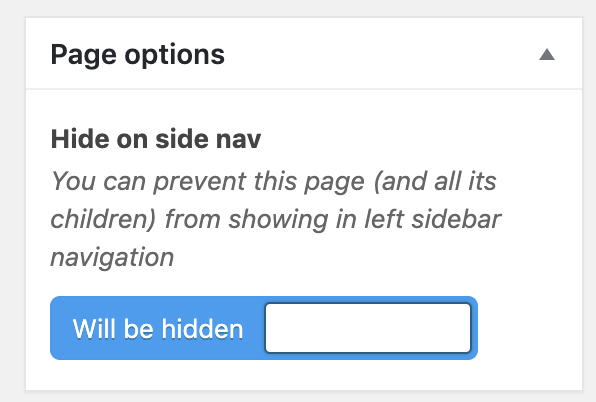
You can hide a page from the sidebar menu by clicking the button ‘Hide on Side Nav’ in the Page Options section of the editor’s window.