
Forms
Note on Forms
The majority of the work in creating forms takes place in the applicable form-building program (Salesfusion or Pardot). You cannot directly edit a form in WordPress, and WordPress does not store any form data or manage reports. Please see the sections below on specific information regarding building forms for WordPress. Consult with your administrator for more detailed instructions on how to build a form.
Create forms in Pardot, but do not host them on the Pardot platform. Create a WordPress page for each form you need. Create a “Thank You” page in WordPress as well. Do not use the Pardot thank-you page. See the following for examples:
Adding a Pardot Form
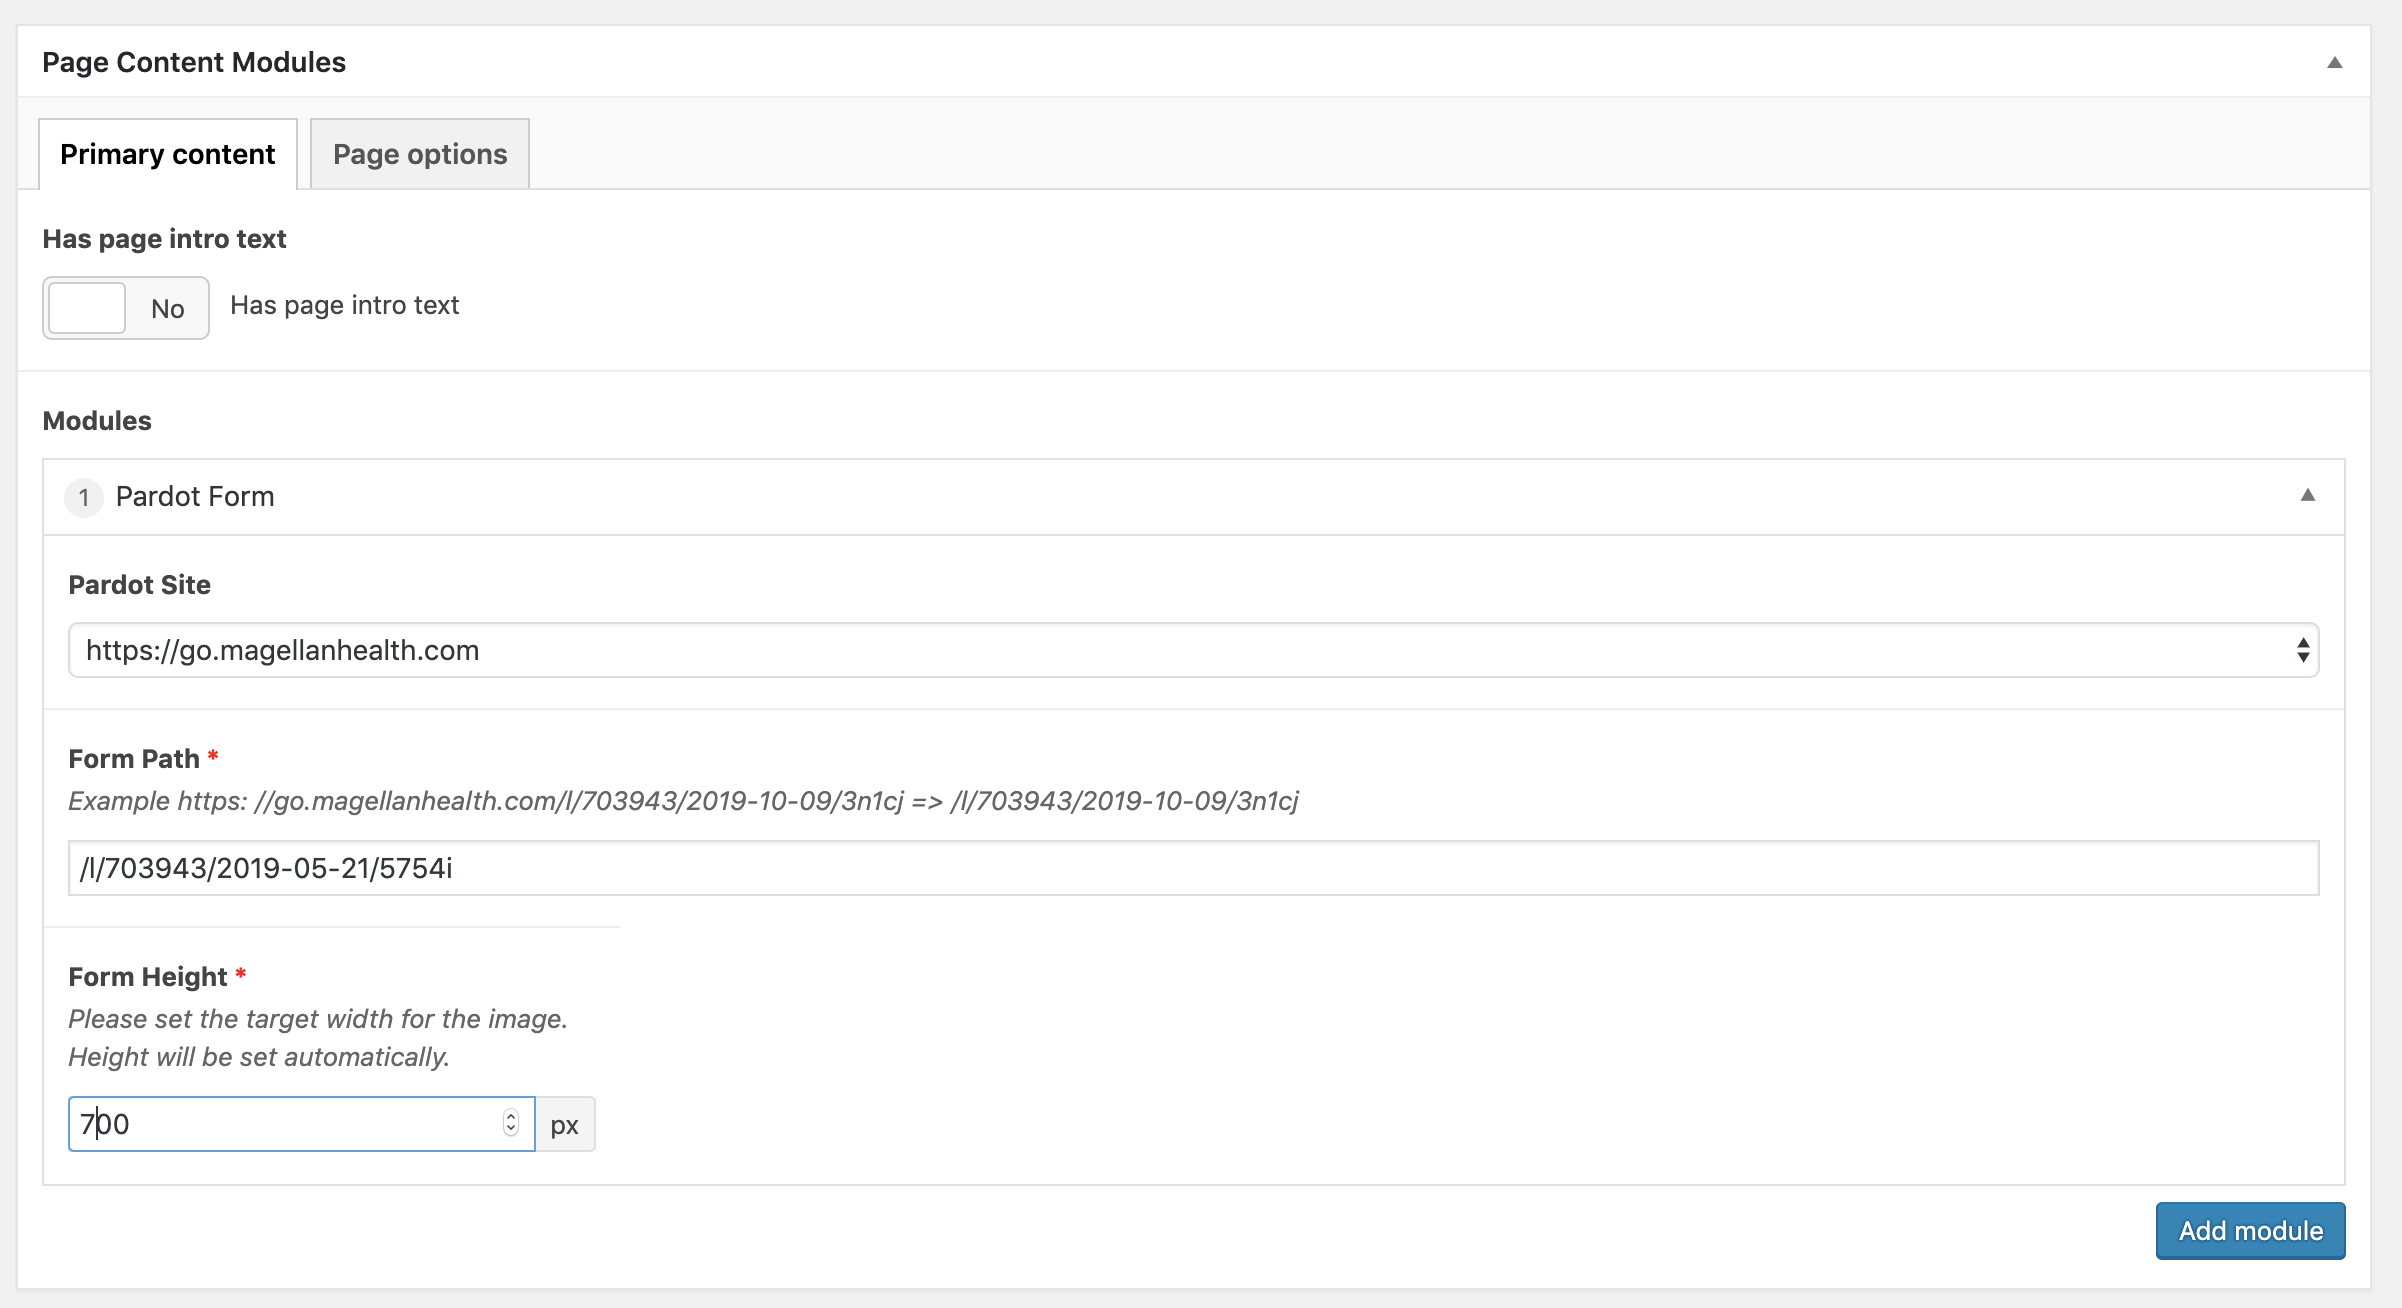
- Once you have built a form (see below), go to the page you wish to add it to in WordPress and add the Pardot Form Module
- Copy the Form path into the fields as shown below (note, you only have to paste the path AFTER go.magellanhealth.com)
- Click Save/Update
Notes on Building Pardot Forms
- When you build the Form in Pardot, apply the form style ‘CSS for sites From Cloudberry’ as found within Pardot. This will style the form to match the rest of the website.
- Pardot forms automatically stretch or shrink to the right width, but are set to be 500px wide. If you choose to leave this as is, the form will function but will appear with a scroll bar. You can edit the height to the correct number of pixels by adjusting the height in the Pardot Form Module.
- Make sure to point back to your WordPress “Thank You” page in completion actions.
Adding a SalesFusion Form
- Once you have built a form (see below), go to the page you wish to add it to in WordPress and add the ‘Custom HTML Embed’ module.
- In the ‘Embed Type’ dropdown, choose the option appropriate to your form type (Salesfusion or Pardot)
- Copy and paste your form HTML (provided by the form builder)
- Click Save/Update
Notes on Building Salesfusion Forms
- When you build a form in Salesfusion, skip the styling steps for the form and its field. WordPress will automatically override the style of the form to make it match the rest of the website.
New for 2020: Custom HIPPA Form Module
If you need to build a form to collect HIPPA-covered information, we have added a separate form module for doing so – “Custom HIPPA Form”.
Notes on Custom HIPPA Forms
- These forms were intended to manage forms in a compliant way
- The module is simpler that Pardot or Salesfusion and you have less options for formatting. There are no automation options so you cannot have differing actions based on a form option. This means if you have different fields for different audiences you will need multiple forms.
- The module is email based – it sends secured emails to an address that you specify. To keep information secure it does NOT store any information on the WordPress site so if you lose the email it sends out there is no record of the information it captured. Please plan accordingly for storing these emails and maintaining inbox access over time.
Adding a HIPPA Custom Form
- Set up your page using whatever template/combination of modules you would like.
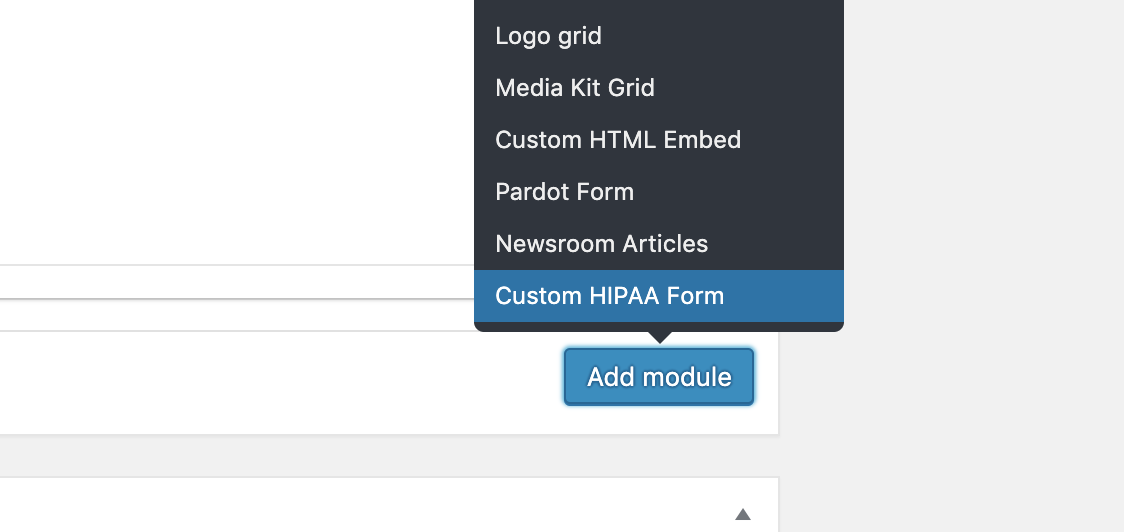
- Click ‘Add Module’
- Click ‘Add Custom HIPPA Form’ (See image below)
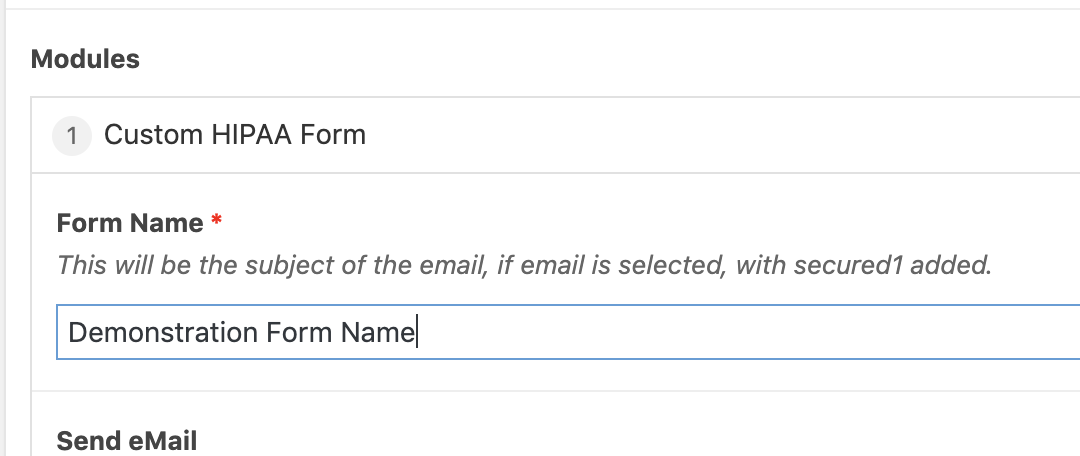
Name the form
- Give your form a name – this will appear in the email subject line that the form generates (See image below)
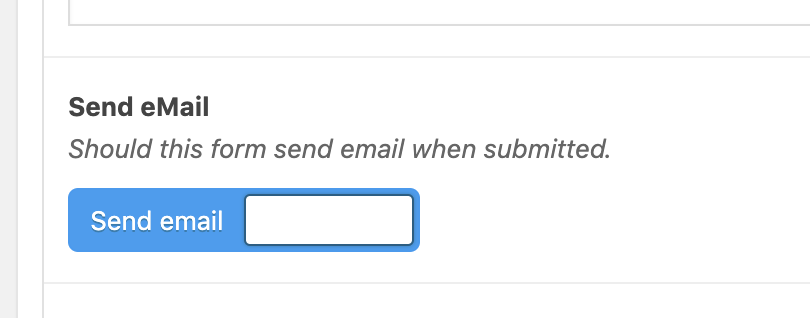
Turn on Email
- Click ‘Send eMail’ – this will enable the secure email feature and cause new fields and instructions to appear on your screen. Be sure to read these instructions carefully.
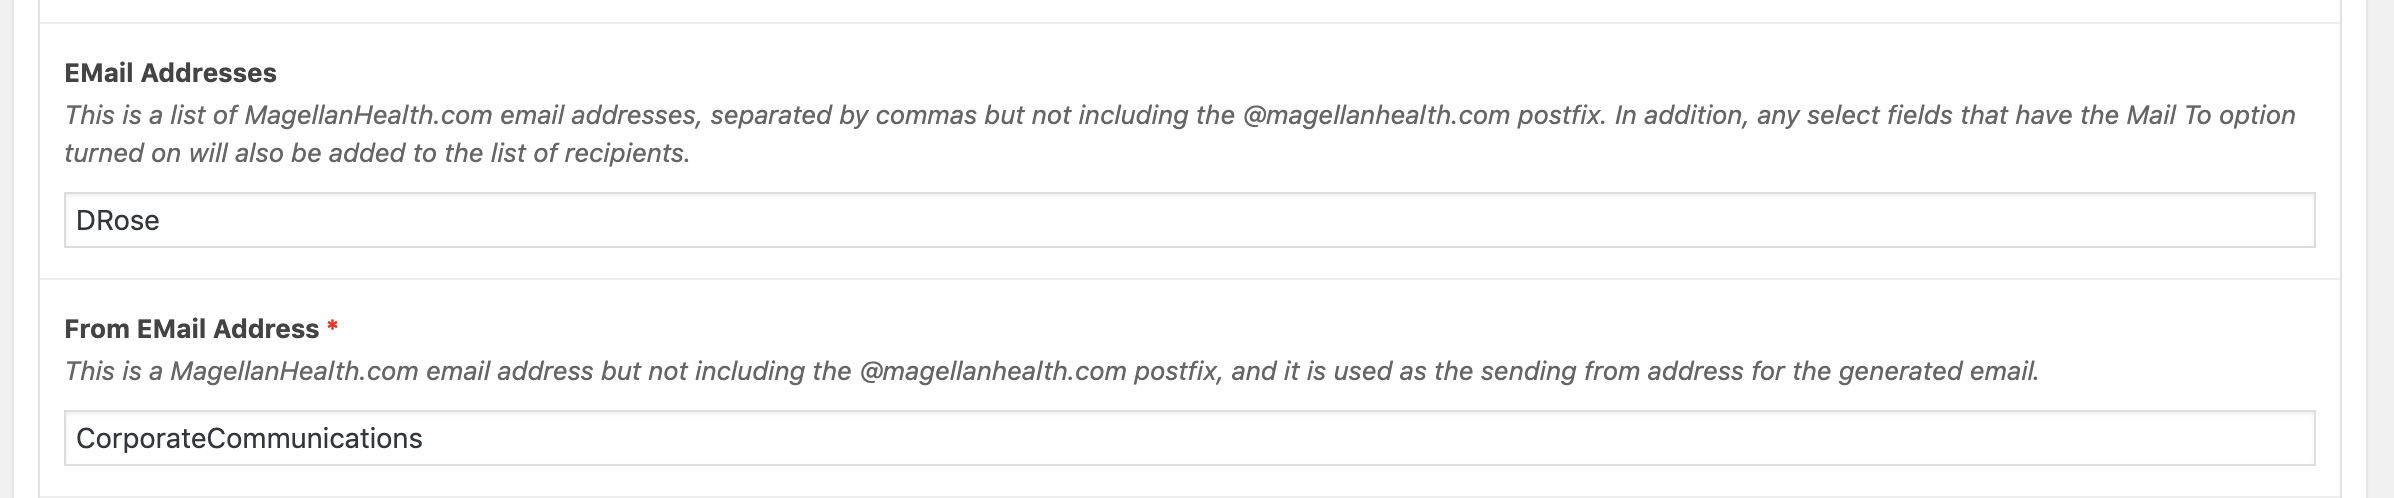
Add Email Addresses
- Below the instructions there are two fields for email addresses. Note that you only need to use the first part of the address (usually your name or initials).
- The first box determines who the email will go to – you can add multiple people by using multiple prefixes separated by commas.
- The second box determines who the email will come from (the user will not see this – use your own email address or an appropriate department email.
Name Table
- When someone submits a form, their answers will appear in a table within the email. Give your table a clear title so you know which form it came from.

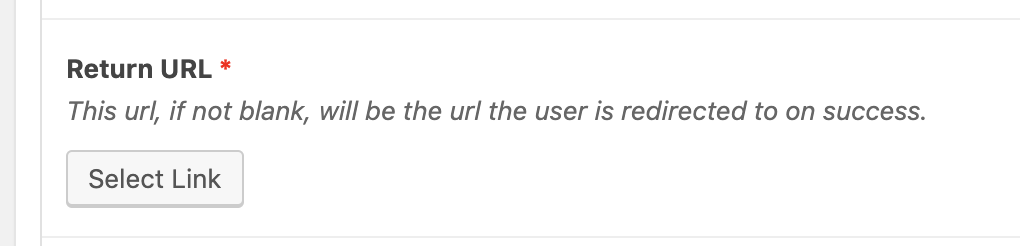
Return URL
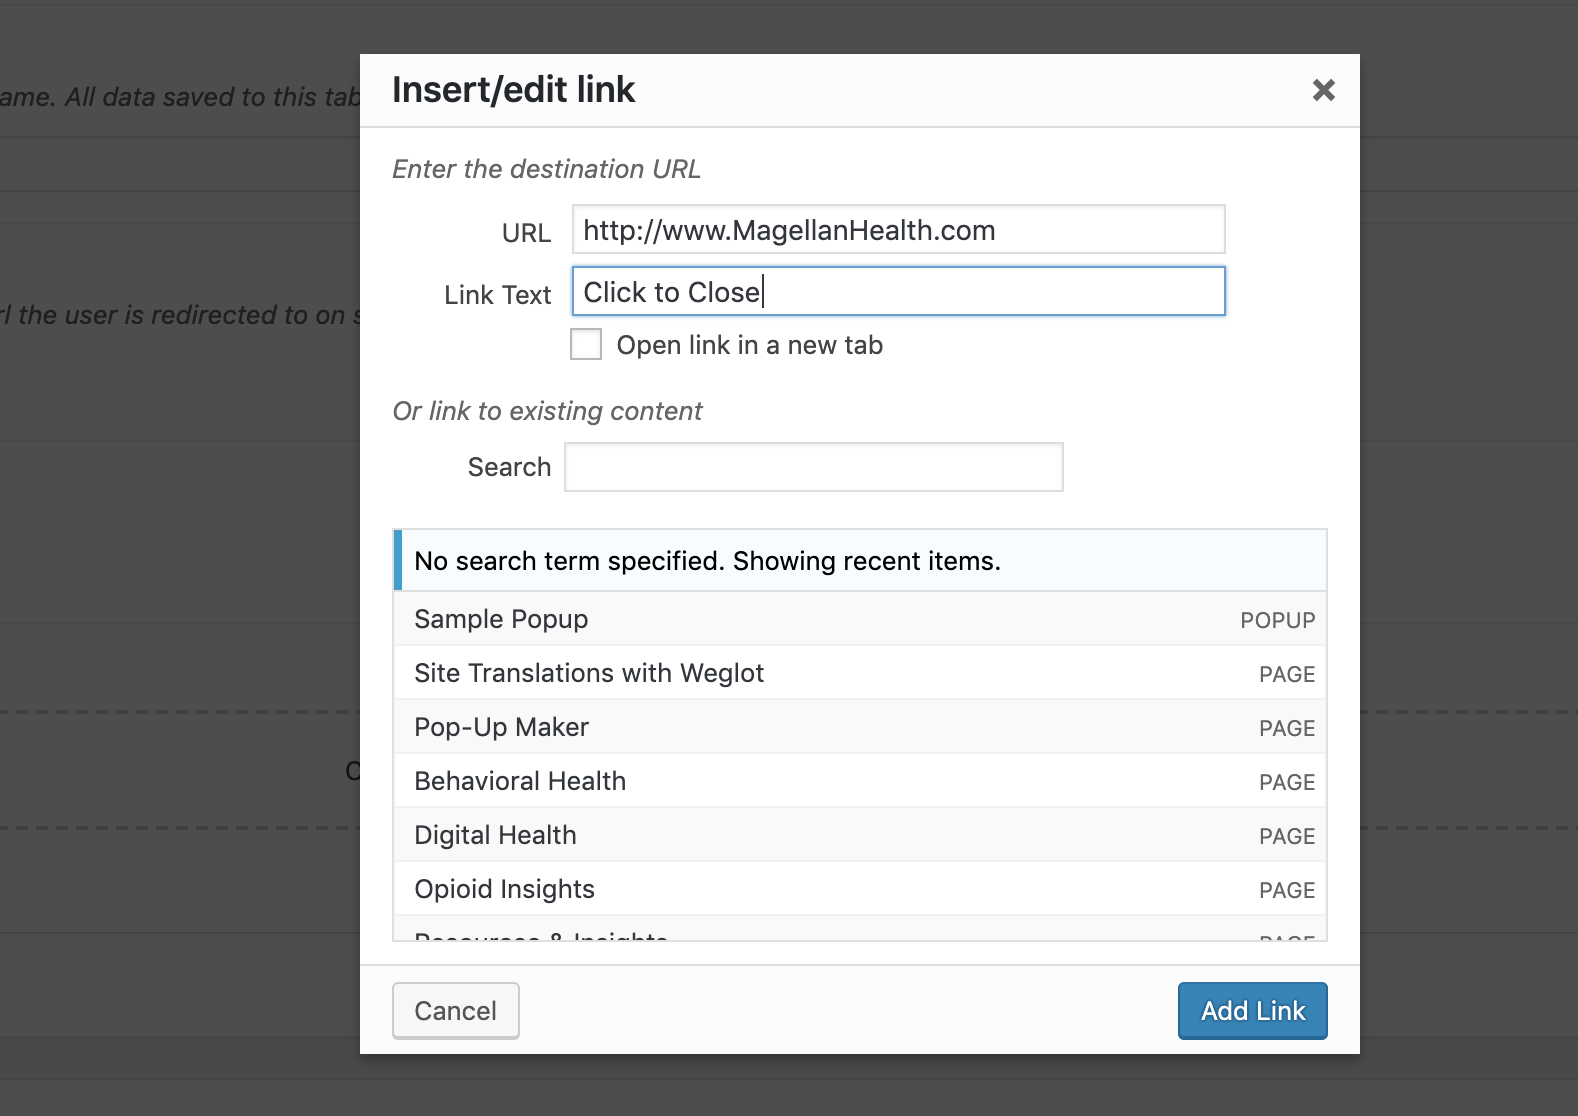
- The return URL is where your user will be sent when the successfully compete your form. This can be any URL, internal or external or any document on your website. Click ‘Select Link’ and add your link.
- For external links use the complete URL
- For internal links or documents, search for them by name
- Click ‘Add Link’
Add a reCAPTCHA
- A reCAPTCHA is an extra security step that helps prevent SPAM and bots from completing your form. This is optional and some clients/state may request you not use them as they can be difficult for people with some disabilities to use. We recommend using them when allowed as bots can overwhelm your forms with thousands of responses.

Adding fields to your form
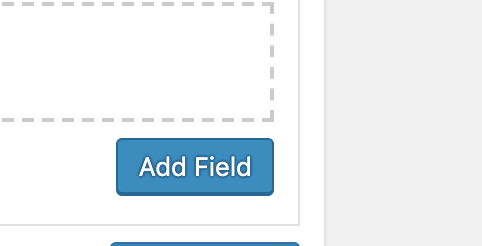
- Now that your form is set up you can begin adding fields.
- Click the blue button at the bottom of the module labeled ‘Add Field’
Click the ‘Field’ Option
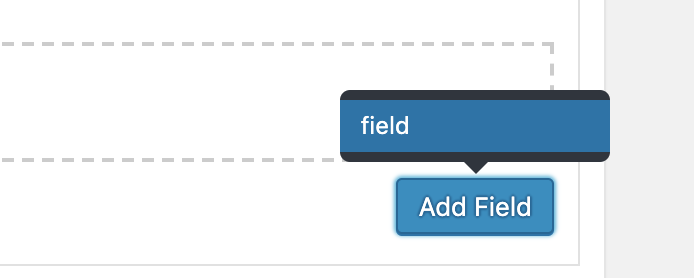
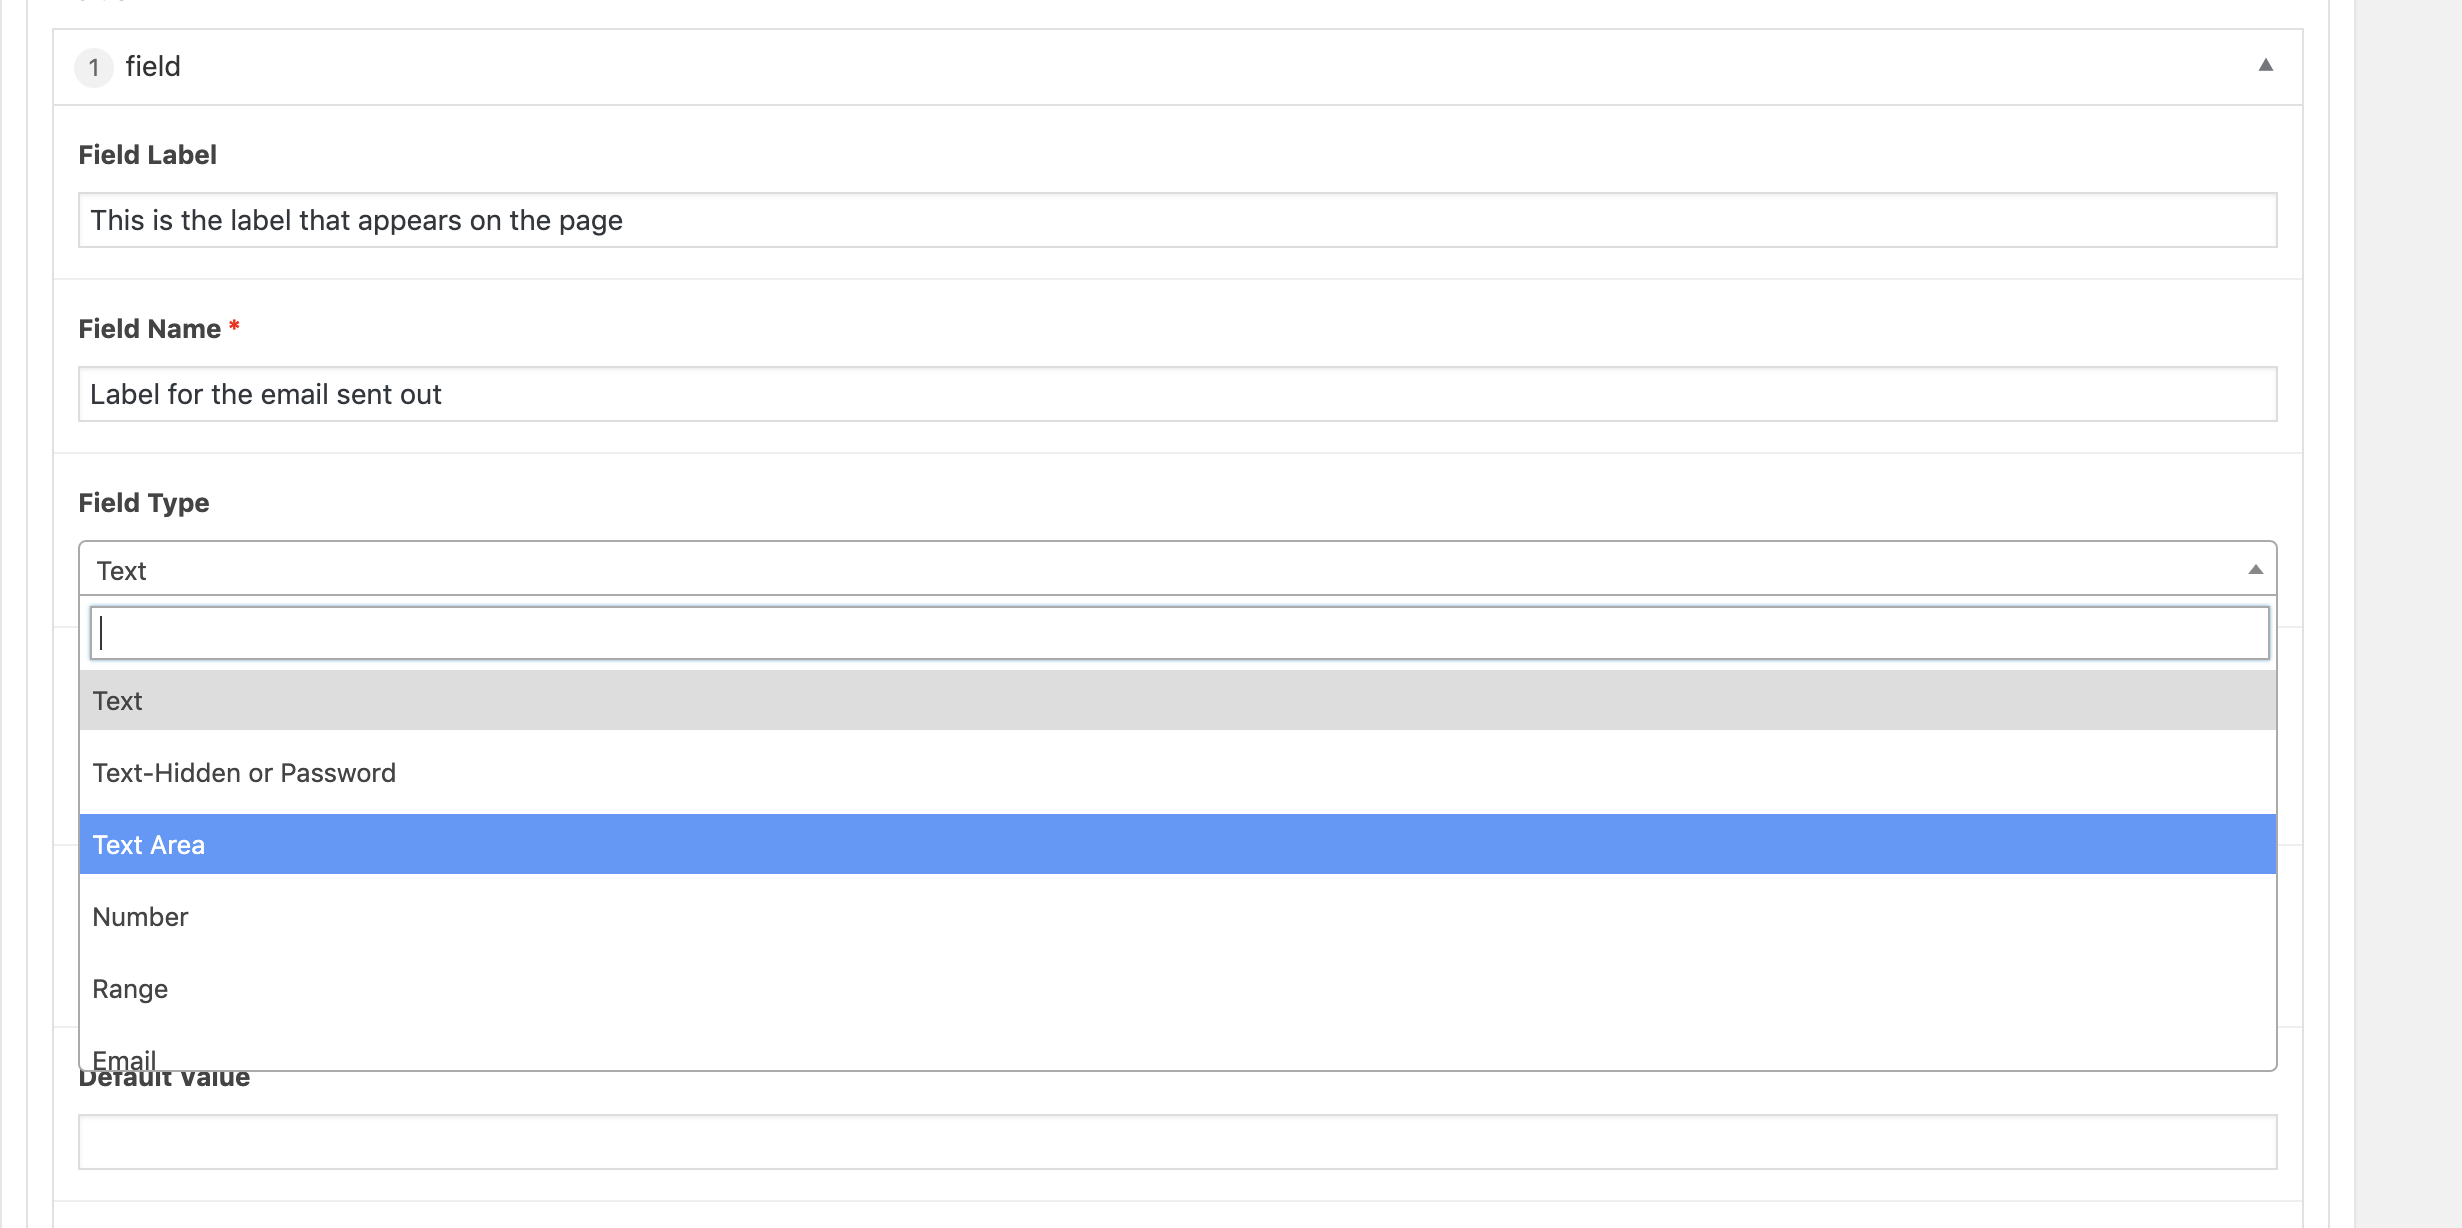
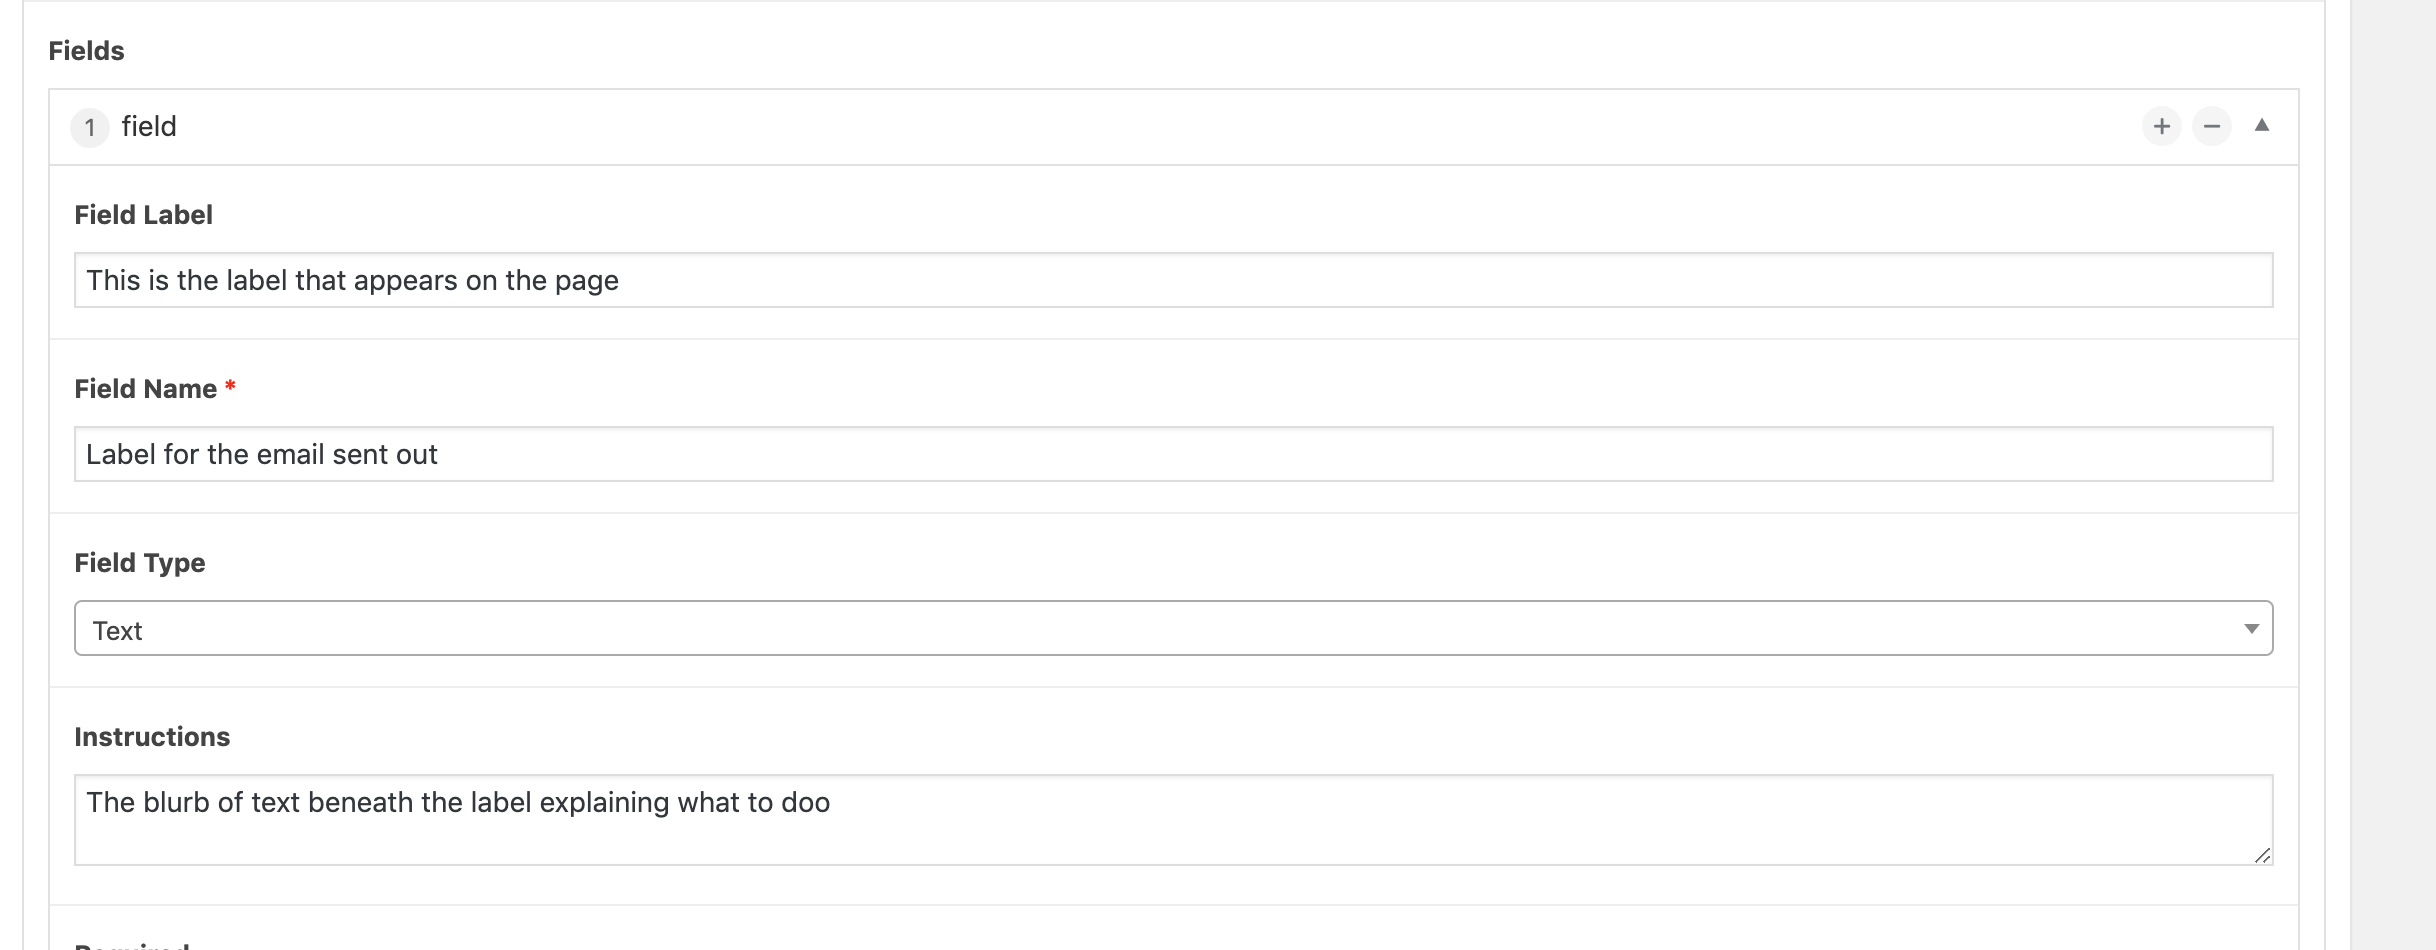
- Give your field a label – This is what will appear on the form itself
- Give your field a name – this is what will appear in the email table
- Choose your field type (complete glossary of field types here). This will change the functionality of the field dramatically depending on what you choose.
- Add instructions to guide your user to complete the form correctly
Field options
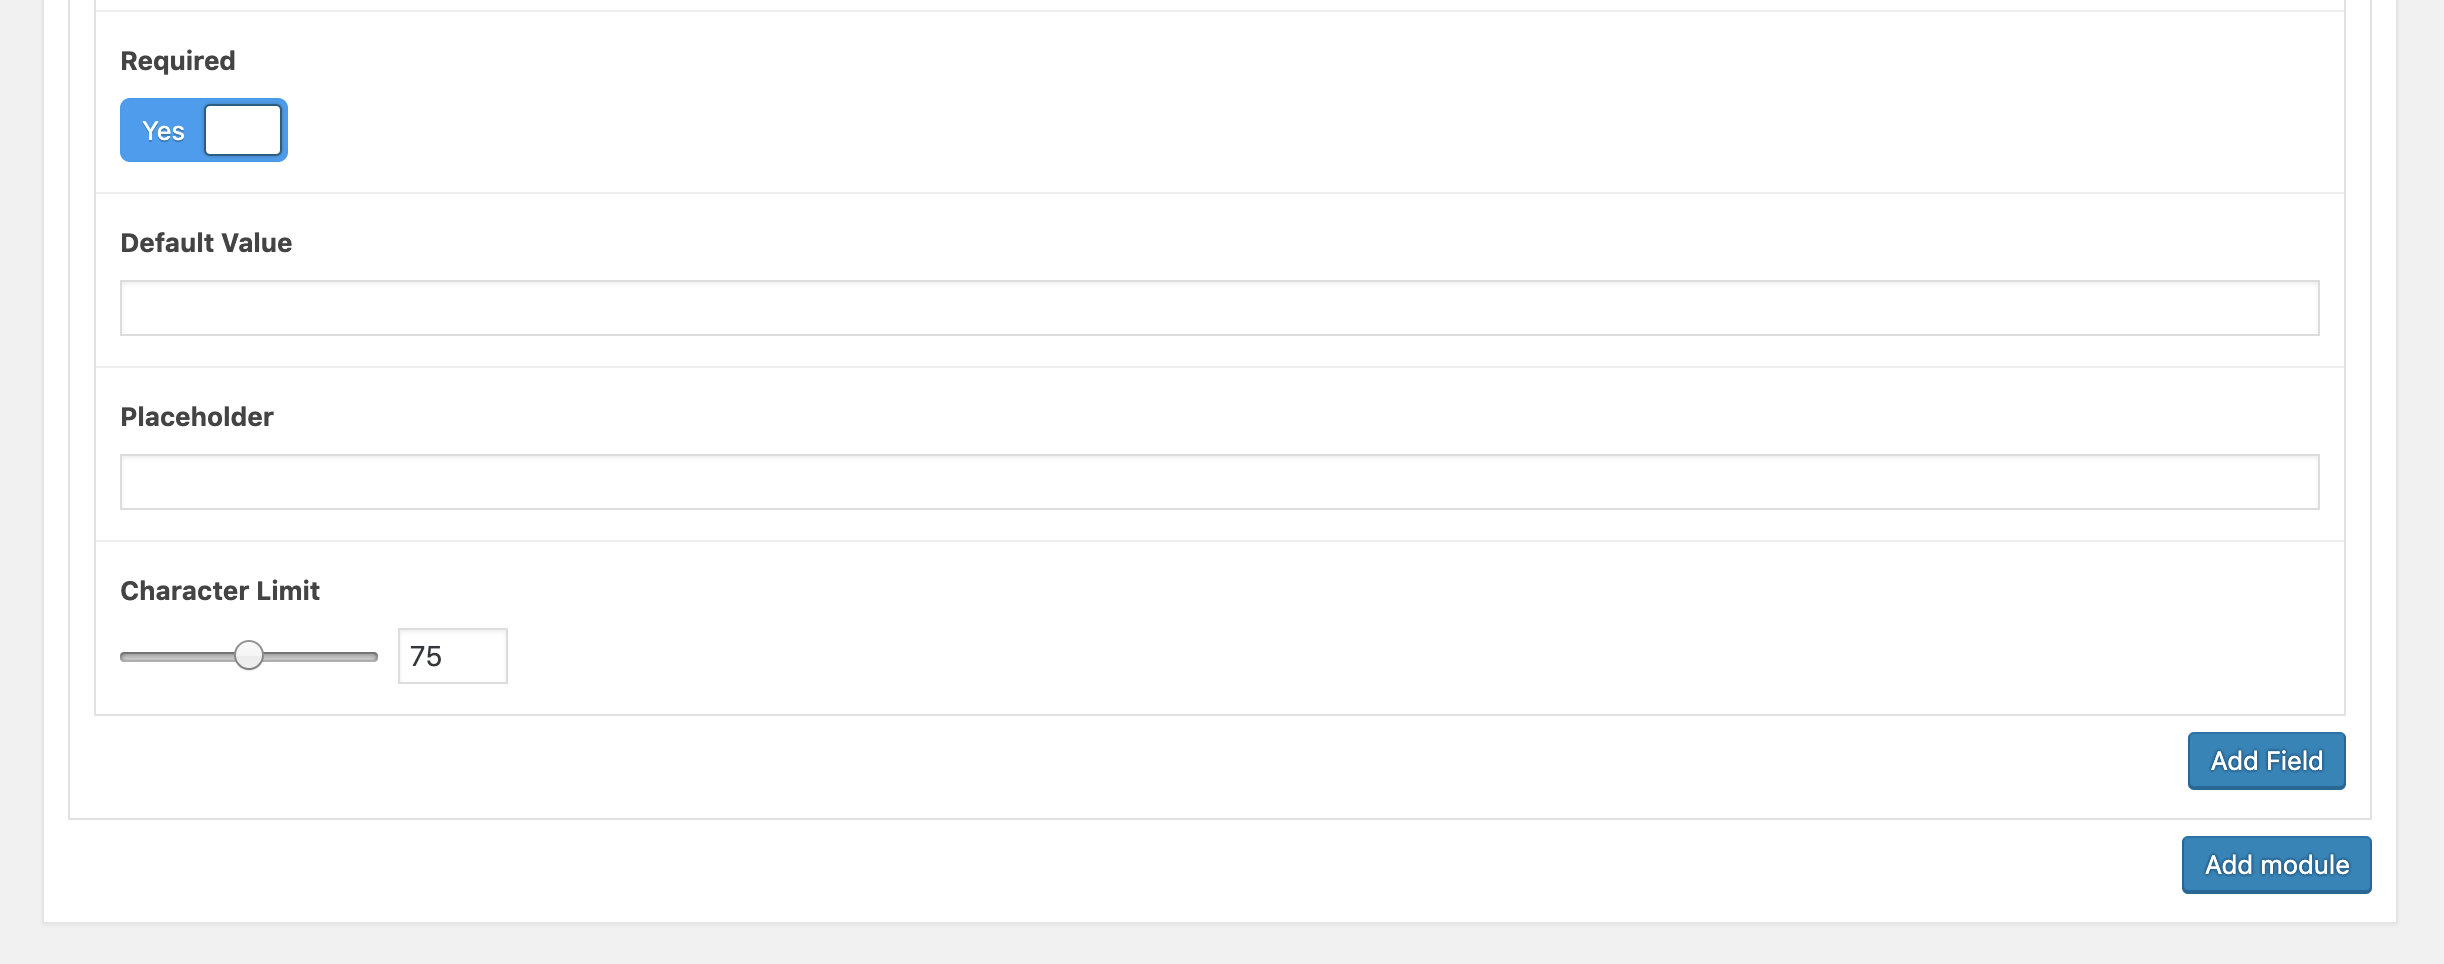
- Choose if you would like the field to be required or not by clicking the ‘Required’ button.
- For number-based fields you can set default values if you wish but otherwise leave this field blank.
- You can add placeholder text in a field to help guide the user
- You can change the character limit for each text field (note, this value will change depending on the field type)
- Repeat this process for each field you wish to add.
- Save and publish your page when complete.